Manage
To Create, Edit and View Locations/Cost Centers
Click Manage on the navigation bar
Select Locations, previously created Locations and Cost Centers are displayed.
Click the Add Locations |Add_Location.png| button and the Add New Location page is displayed:
Enter a Name
Enter a Code (three initials of the Location/Cost Center Name)
Is a Department button to indicate if Location created is a Cost Center (On/Off)
Treat Department as Location button to indicate if the Cost Center is to be treated as a location (On/Off)
Auto Generate Requisitions to Meet Par Levels button to indicate if Requisitions need to be automatically created for selected Location/Cost Center once stock counts are updated (On/Off)
Show in Consumption Report button to indicate if Location/Cost Center should show in the Consumption Report (On/Off)
Show in Stock Count button to indicate if Location/Cost Center should be displayed on the stock count list page (On/Off)
Is Stock Counted (On/Off)
Show in pou grid (On/Off)
Select Requisition to Location
Issue to Location
Update button to create the Location/Cost Center
Location List button to return to Shelves Main Page
Edit
 button to update Location/Cost Center info
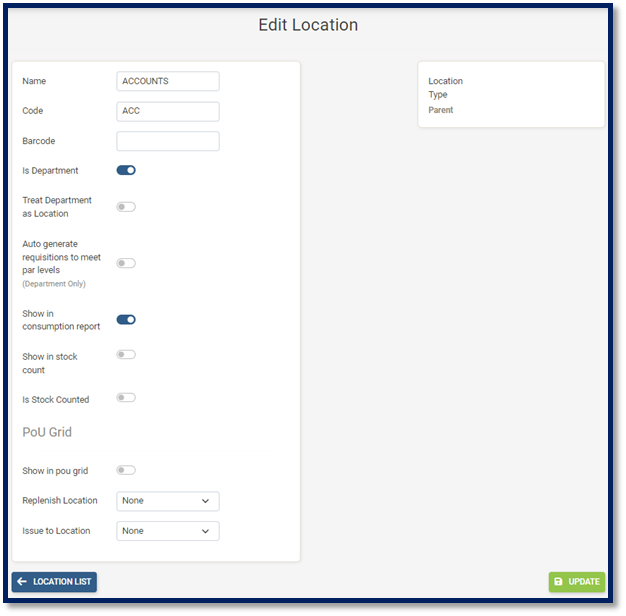
To Create, Edit and View Shelves
Click Manage on the navigation bar
Select Shelves, previously created Shelves are displayed.
Select the Outlet and Location or Cost Center you would like to create the shelf in.
Select the Add Shelf
 button and the Add New Shelf page is displayed:
Enter a Name
Select another Location/Cost Centre (if required)
Update button to Create/Update the Shelf
Delete button to Delete the Shelf
Shelf List button to return to Shelves Main Page
Edit
button to update Shelf info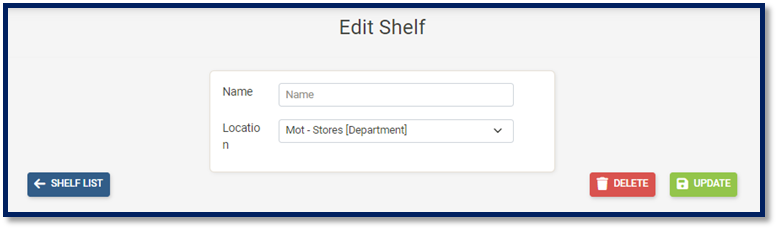
To Create, Edit and View UOMs (Unit of Measure)
Click Manage on the navigation bar
Select UOM, previously created UOMS are displayed.
Select the Add UOM
 button and the Add New UOM page is displayed:
Enter UOM Name
Enter Case Total (if applicable)
Update button to Create/Update UOM
Disable button to make UOM inactive
UOM List button to return to UOM Main Page
Search bar to search for UOM
Edit
button to update UOM info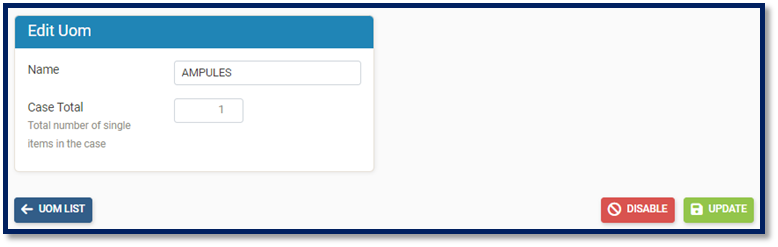
To Create, Edit and View Types
Click Manage on the navigation bar
Select Types, previously created Types are displayed.
Select the Add Type
 button and the Add New Type page is displayed:
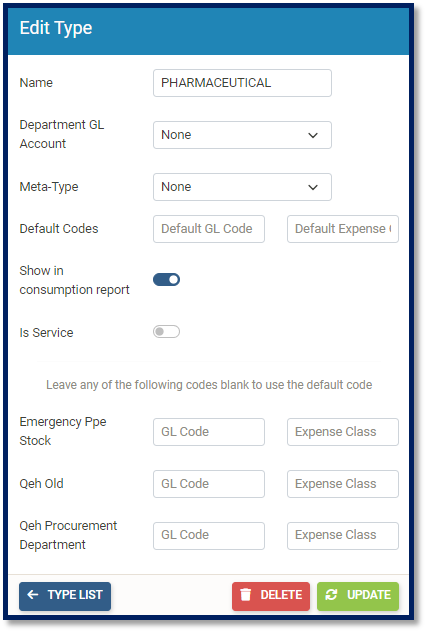
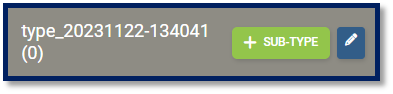
Enter Type Name
Select Department GL Account
Select Meta-Type (if required)
Enter Default GL Codes
Enter Default Expense Class
Show in Consumption Report button to indicate if the Type should be displayed in the Consumption Report (On/Off)
Is Service (On/Off)
Enter GL Code per Outlet (if required)
Enter Expense Class per Outlet (if required)
Update button to Create/Update the Type
Delete button to Delete the Type
Type List button to return to Types Main Page
Edit
button to update Type info
Note: To add Sub-types to various Types, click on the Add Sub-Type  button. To view Sub-types linked to Types, click on the Type name and all Sub-Types previously created are displayed.
To Create Edit and View Departments
Click Manage on the navigation bar
Select Types, previously created Departments are displayed
Select the Add Department
 button and the Add New Order Type box is displayed:
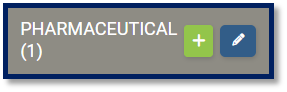
Enter Department Name
Enter Department Code
Select an Excess Cost/Quantity Authorizer
Skip user authorization (Yes/No)
Sequential authorization (Yes/No)
Select a Department Authorizer
Update button to Create/Update the Department
Delete button to Delete the Department
Type List button to return to Types Main Page
Edit
button to update Department info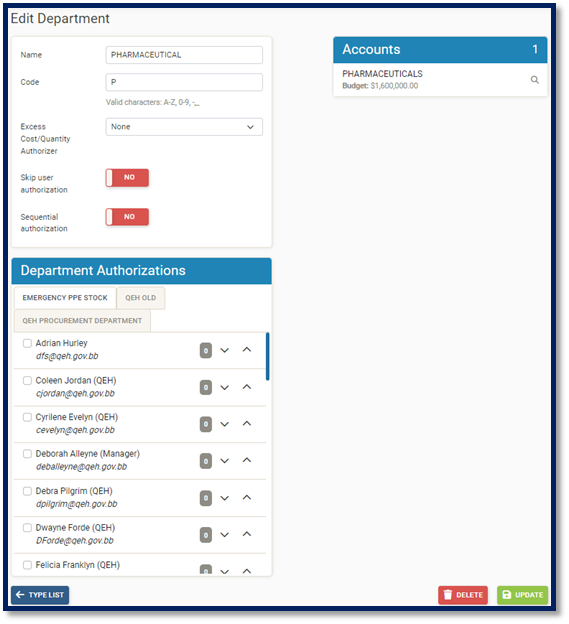
To Create, Edit and View Vendors
Click Manage on the navigation bar
Select Vendors, previously created Vendors are displayed.
Select the Add Vendor
 button and the Add New Vendor page is displayed:
Vendor Basics
Enter Vendor Name
Enter Source ID (if required)
Enter V.A.T. Number (if required)
Enter Phone Number (if required)
Enter Fax Number (if required)
Enter Email Address (if required used to email Purchase Orders to Vendors)
Enter Vendor Address (if required)
Enter Website (if required)
Overseas (On/Off)
CSR (On/Off)
Vendor Codes
Enter Default Vendor Code
Enter Vendor Code per Outlet
Vendor Name Aliases
Enter Vendor Name Aliases per Outlet
- Vendor Status
Last Modified Department
Update button to Create/Update Vendor
Disable button to make the Vendor inactive
Vendor List button to return to Vendors Main Page
Search by Vendor Name
Search by V.A.T. Number
View Disable Vendors
Edit
button to update Vendor info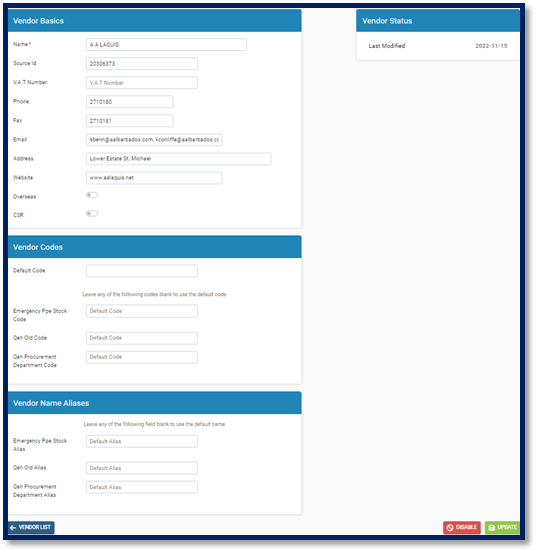
To Edit Miscellaneous
Click Manage on the navigation bar
Select Miscellaneous
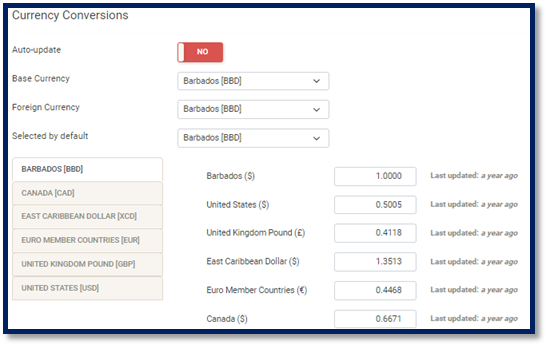
Currency Conversions
Auto-update (Yes/No)
Select a Base Currency
Select a Foreign Currency
Selected by default (currency)
Enter Currency Rates (if required)
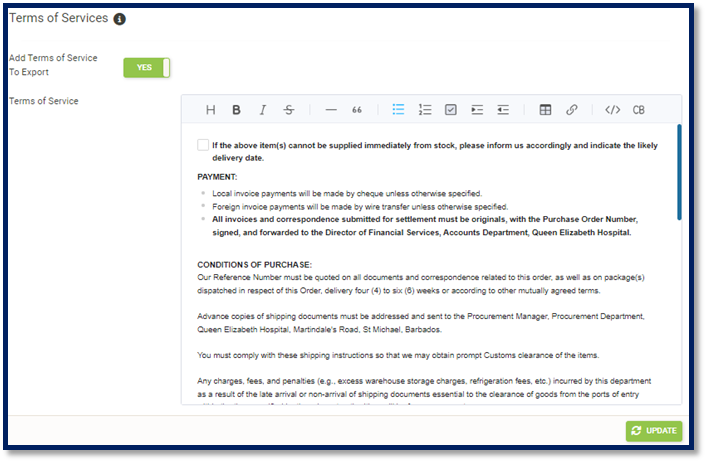
Terms of Services
Add terms of Services to Export (Yes/No)
Edit Terms of Service
Update button to save configurations